Disclaimer – This article is a general how to use our products and is not intended to be a final installation guideline. You must always consult an engineer for site-specific installation guidelines and state-specific requirements.
Geosynthetic clay liners – the solution to many problems!
Before we explain how you can install a geosynthetic clay liner (GCL), let’s talk about the benefits of this amazing product.
Applications:
- Landfills
- Hazardous material containment
- Waste containment (example – hog/chicken farms)
- Aquaculture/aquafarming
- Ponds & fish hatcheries
- Ornamental ponds
GCLs address these issues:
- Soils with poor water retention capacity
- Has the ability to contain hazardous material, solid waste from livestock, and petroleum products
- Keeps hazardous material from contaminating soil
- It can be installed on steeper banks than thermoplastic liners and it can be soil covered
- It can release air/gas trapped under the liner from geothermic activity unlike traditional liners
- It has a swell index comparable to other clays, if it is punctured it will self-seal any holes, punctures or tears in the liner
Benefits:
- These are a low-cost replacement for compacted clay soil
- GCLs are quicker to install, sometimes even when the clay is available on site
- When hydrated under confinement, the bentonite swells to form a low permeability clay layer with the equivalent hydraulic protection of several feet of compacted clay
Installing a geosynthetic clay liner
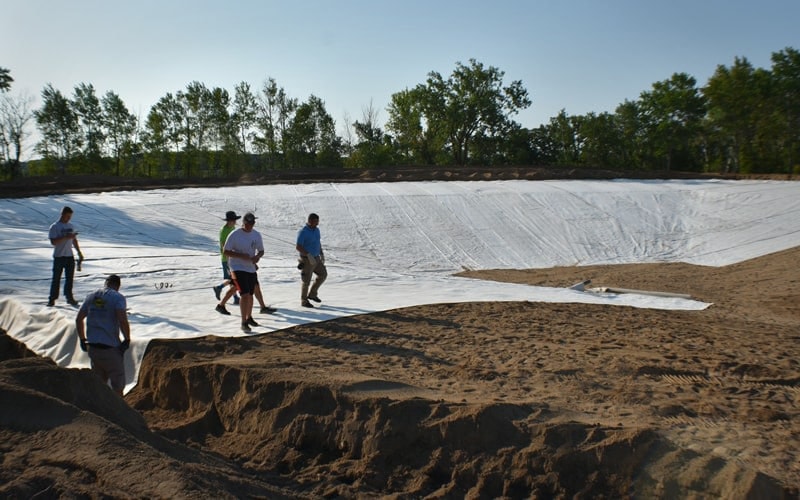
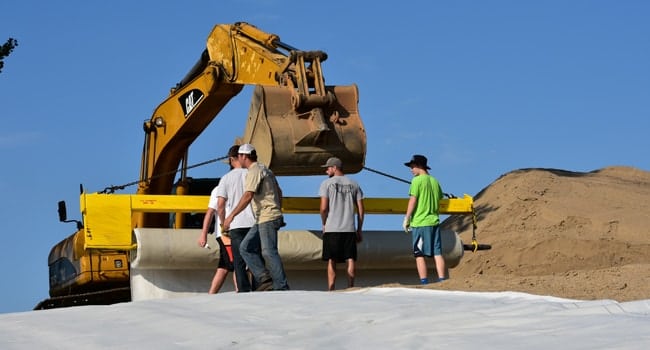
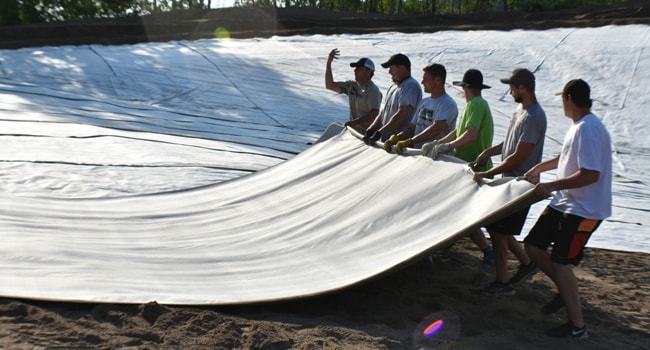
Let us show you how easy the installation is and provide a few useful tips along the way. In our example, we will be using a thermal lock geosynthetic clay liner.
Step 1 – Excavate your area for lining
Excavate the area a minimum of 12 inches deeper than your finished grade.
Step 2 – Prep the area for liner installation
Make sure the subgrade is free of all rocks and debris. Compact your subgrade until you get no visible deflection (rutting). You must excavate an anchor trench on any surface that has slope greater than 7/1. Finally, make sure the equipment deploying the product is not creating any voids where the liner bridges.

Step 3 – Installing the geosynthetic clay liners
The nonwoven side should be facing up in order to maximize shear strength characteristics. If possible all panels should be rolled down the slope and flat areas don’t require any particular orientation. Geotextiles are marked with a min and max overlap line, which make a 12-inch minimum overlap on sides. Where one roll ends and another begins you should have an overlap of 24 inches. Sprinkle a quarter pound per linear foot of Sodium Bentonite on the overlaps to seal them. Finally, place a soil cover free of sharp-edged stones (greater than 2 inches in size) at a depth of 12-24 inches.

Other installation notes:
- GCLs should be covered at the end of the day and not exposed overnight. It could absorb water overnight and swell, losing performance.
- Any penetrations (like a pipe) you would need to fashion a boot out of GCL and secure that around the pipe and liberal apply Sodium Bentonite around the penetration to make sure it seals.
- Soils should be placed with low ground pressure equipment (tracked equipment). Avoid puncturing the GCL by not making sharp turns, pivots or sudden starts or stops. The equipment should drive directly on top of the soil cover and not directly on the GCL.
- If the soil is steeper than 4/1 then the soil should be pushed up the slope to avoid tearing the GCL.

See the installation in action
Want more information?
We would love to help answer any additional questions you have about specifications or application. Contact us below or browse our products.
