Disclaimer – This article is a general how to use our products and is not intended to be a final installation guideline. You must always consult an engineer for site-specific installation guidelines and state-specific requirements.
How to establish a seedbed with straw blankets
Let us show you how easy the installation is and provide a few useful tips along the way. In our example, we will be using Cherokee Single-Net Straw Blanket.
Step 1 – Soil prep
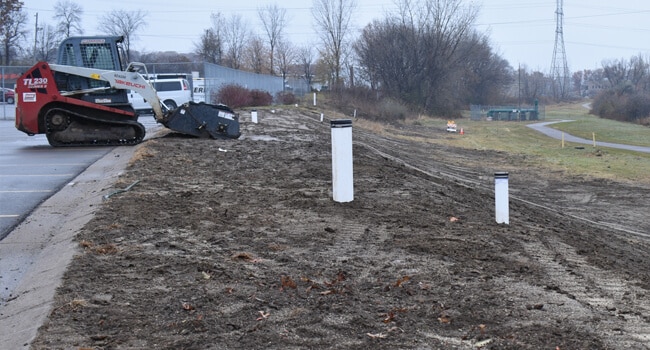
As with any seeding project, you will begin by preparing the seedbed surface. A proper seedbed is established where the soil is well tilled, completely free of any rocks or debris, and fine grading
is completed.

Step 2 – Apply soil and seed amendments
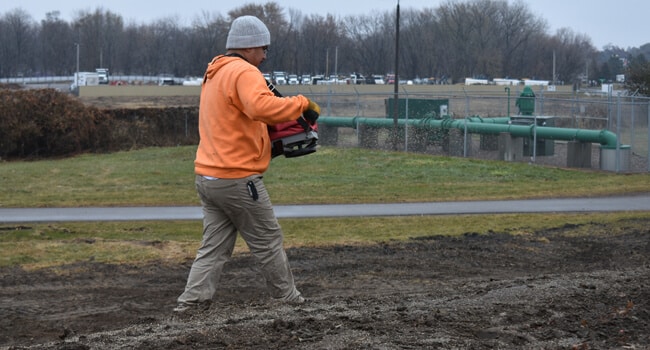
Once you have prepared the soil you will need to add soil and seed amendments. A soil test is recommended to ensure the correct minerals and fertilizers are used.

Step 3 – Unroll and staple the straw blankets
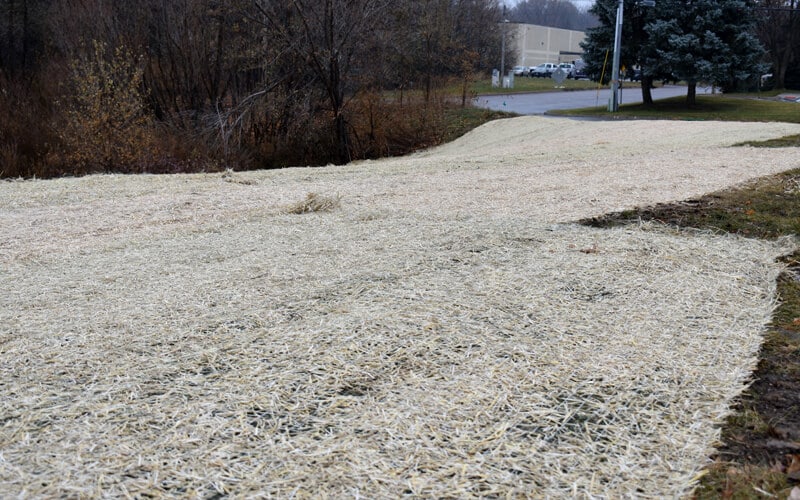
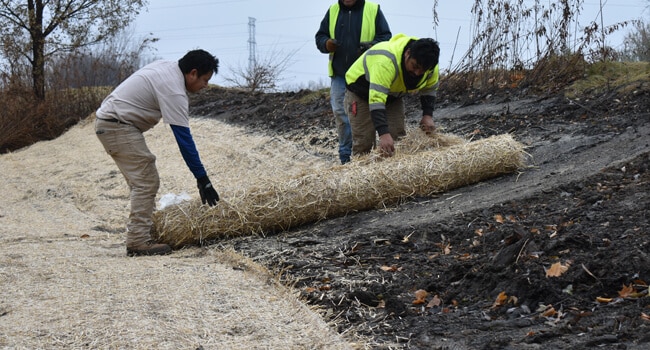
The next step is to unroll the Cherokee erosion control blankets over the newly seeded area. Ensure the straw blankets are free of any wrinkles and have good soil contact. Make sure you overlap the edges of the blankets, creating a shingling effect to prevent undermining from water channeling or sheet flow.

Fasten the blankets to the soil, be sure to know the manufacturers recommendation for your specific site conditions. Blankets may be fastened with wood stakes, staples, or other various earth anchors.
You’re Done!
Now you are ready to apply the proper amount of water. With correct installation, Cherokee’s erosion control blankets will ensure a quicker and more efficient establishment for the
vegetation on your project and prevent harmful soil erosion.
See the installation in action
Want more information?
We would love to help answer any additional questions you have about specifications or application. Contact us below or browse our products.
